Washing your car is an essential part of maintaining it in top condition. While you can always go to a drive-thru car wash solution or take your vehicle to a professional detailer for car cleaning, it may not be practical to do this every time you need to wash it. Sometimes washing your car at home is a better choice, especially on a leisurely summer afternoon.
So what’s the best car wash method at home? An online search could bring up hundreds of different articles, all claiming their method is the best. Sorting through all that information can be tough, and every method will have pros and cons. How do you decide which methods to try and which methods may damage your car?
To make your life a little easier, we’ve sorted through all these methods and gathered the ones we think are the best. While this article doesn’t replace a detailed description of each of these methods, it does provide an overview of the steps involved so you can try them out and decide which one you think is best. To further help you, we’ve also laid out the best methods for washing your car without scratching it.
★★★★★
High Rated Reviews from 150+ Customers
After a simple spray and wipe down using a microfiber towel, your car’s paint job will be protected for up to an entire year. Your car’s top coat impenetrable to any chemical, liquid, or environmental contaminant there is. In a matter of minutes!
How Often Should I Wash My Car?
No matter what method you pick for washing your car, you should wash it at least once a week. Bird droppings, bug guts, and loose dirt can build up and get caked on, causing damage to your paint if left too long.
If you live in a very dusty area or an area with lots of birds and bugs, you may need to wash your car more often to have the best effect. Similarly, if you only drive a vehicle once or twice a week, you can get by with washing every two weeks instead.
If you’re worried about having time to wash your car as often as it might need, some methods can get the job done faster. First, ensure you’re still setting enough time aside to get a thorough clean, no matter the method.
Method 1: Two-Bucket Method
We’ll just be giving you the bare bones of the two-bucket method here so you can add it to your toolbox. If you love this method, check out a more detailed explanation of the two-bucket method.
What You’ll Need
For the two-bucket method, you’ll need two buckets, car shampoo, a wash mitt, and microfiber towels to dry with. The Torque Detail Decon Wash Pack includes a great decontamination soap and a high-quality microfiber wash mitt.
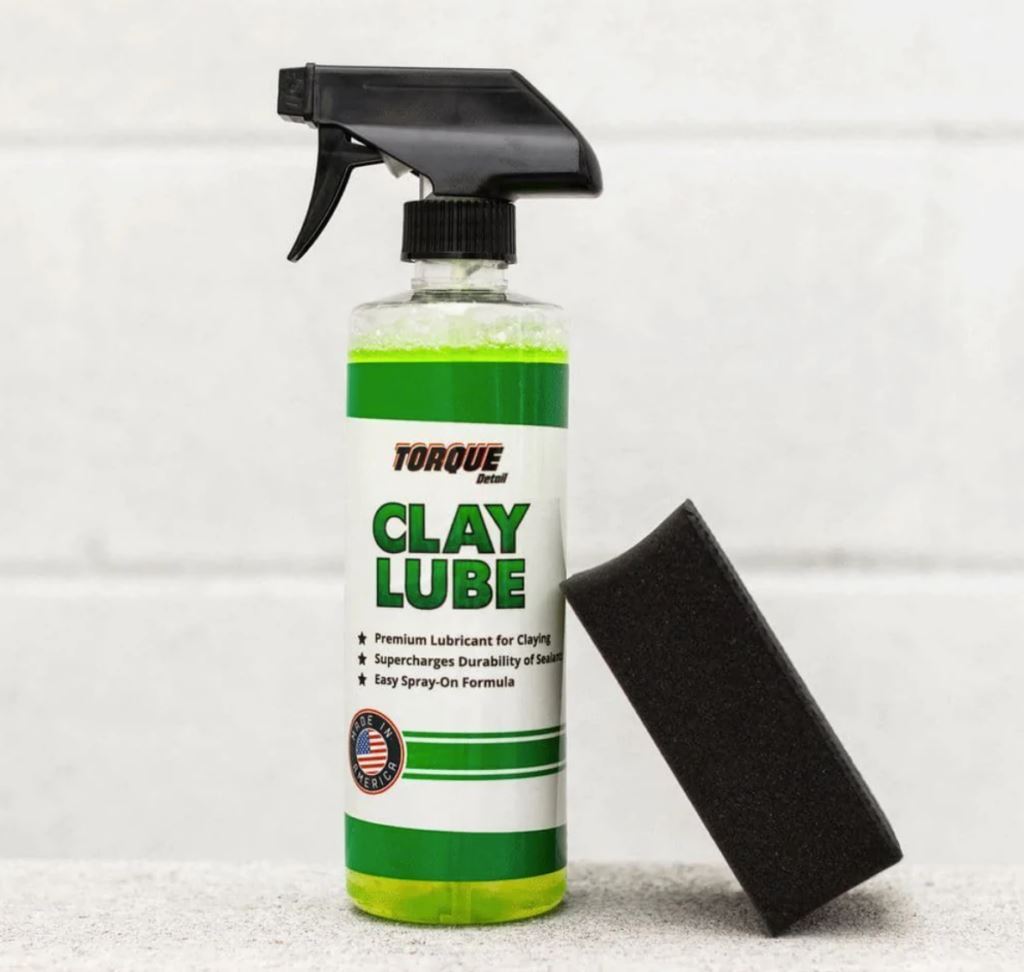
You can also consider grit guards for your buckets, as well as a reusable clay pad and clay lube if you want to strip your sealant back to the clear coat. You can also get a clay pad included with Decon Soap and a wash mitt as part of the Torque Detail Full Decon Kit.
Step 1: Fill the Buckets
The purpose of the two-bucket method is to minimize the grit and debris on your wash mitt that could scratch your car’s finish. Fill one bucket with water and car shampoo, such as the one included in the Torque Detail Decon Wash Pack, which will be what you use to soap up your car.
Next, fill one bucket with plain water, which will be your rinse bucket, where you rinse the grit and debris out of the wash mitt. If you choose to use grit guards, place them in the bottom of both buckets.
Step 2: Soak the Car
Using either a garden hose or your wash bucket, soak your car with plain water. This will wash off and loosen dirt and debris that could scratch your car during later steps. Of course, it won’t get all the contaminants off, but it will make later steps that much easier.
Step 3: Wash with Soap
Dunk your wash mitt into the bucket with soapy water and gently run it over your car, starting at the top and moving down. Work in small sections and thoroughly rinse the grit out between each section. After that, dunk your wash mitt back into the soapy water bucket and move on to the next area.
The size of each section should be determined by how dirty your car is. The dirtier the car, the smaller the sections need to be to minimize the amount of grit and debris you drag along in your wash mitt.
Step 4: Rinse and Dry
With freshwater or a garden hose, rinse off the soap. Make sure you don’t use the old water in the buckets since any dirt and debris would have washed off the mitt into the buckets. You can, however, empty the buckets and refill them with clean water to rinse the car.
Once all the soap is rinsed off, it’s time to dry. You can check this guide for in-depth information on drying your car, but the general idea is to dry quickly but carefully. Microfiber or chamois towels are a great choice for effectively drying your car without leaving behind streaks and water spots.
Method 2: Garden Hose Method
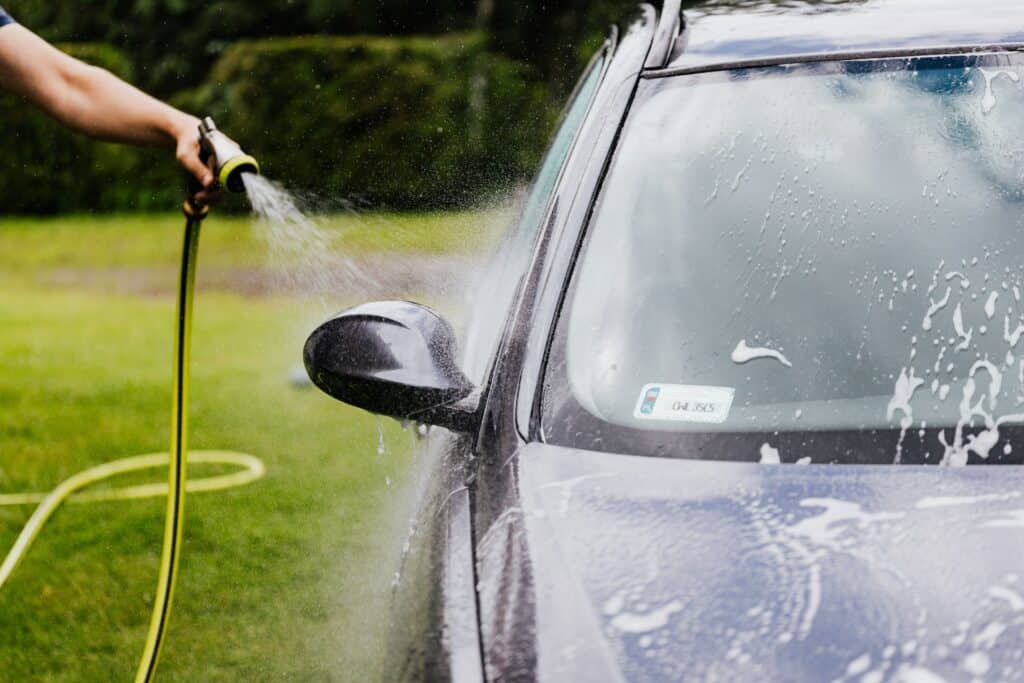
The garden hose method is what comes to mind when most people think of washing a car at home. It’s a relatively simple method that still does a great job of getting the dirt off.
What You’ll Need
For this method, you’ll need a garden hose with access to a water supply, your car soap of choice not a dish soap, a soft cloth or sponge, and a microfiber towel for drying. You can also consider a foam gun or foam cannon to help apply the soap.
Step 1: Soak the Car
Similar to the previous method, you want to get the car wet to rinse off all the looser dirt and grime. It also helps the soap do a better job in the next step.
Step 2: Lather and Scrub Thoroughly
Once the car is wet, cover it with a good amount of properly diluted soap, like the one found in the Torque Detail Decon Wash Pack. You can do this by pouring the soap directly onto the car or using a foam cannon or gun to get the suds on your car with less risk of scratching.
Next, wet your soft cloth or sponge and gently scrub your vehicle to remove the dirt wrapped up in the soap. Work in small sections and rinse the cloth or sponge between sections to prevent it from dragging accumulated dirt across your car.
Step 3: Rinse and Dry
Pull the garden hose back out and rinse the soap off the car. Then take your microfiber towel and gently dry your vehicle. Work quickly to keep the car from air drying, so you don’t have water spots clouding the finish.
Method 3: Pressure Washer Method
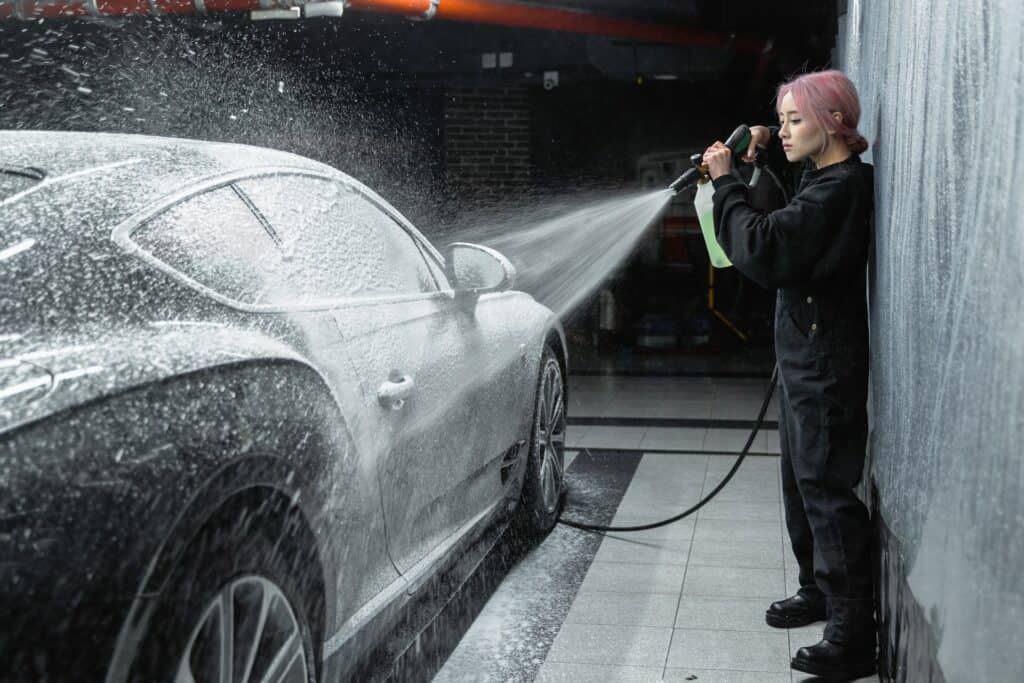
The pressure washer method is incredibly effective but has to be done carefully. It easily powers off the worst of the dirt and grime with minimal scratches. For a full explanation of the pressure washer method, you can check out this article.
What You’ll Need
The pressure washer method is a little heavy on supplies, but the trade-off is a great clean. You’ll need a pressure washer, a high-quality spray gun with an appropriate nozzle, a car wash soap, a foam cannon with a detergent tank, a wash mitt or sponge, and a microfiber or chamois towel. You can find a great combination of decon soap, wash mitt, and microfiber towels in the Torque Detail Pro-Detailer Car Detailer Kit.
Step 1: Pick Your Settings
The main concern of using a pressure washer is having too high of pressure that can strip the paint off your vehicle. This means the first step is the most important. You want to make sure the pressure isn’t high enough to strip the paint off without having pressure so low it defeats the purpose of a pressure washer.
Picking your settings comes in two forms. The first, and most obvious, is adjusting the pressure settings on your pressure washer. You want the pressure to be set at no higher than 1500PSI.
The second is the angle of the nozzle you use. Smaller angles focus the pressure in a smaller area, increasing the risk to your paint. Ideally, you want a 40-degree angle for your nozzle, though you can go as low as 25 degrees or as high as 60 degrees without significant impact.
Step 2: Pre-Rinse
Once your pressure is where you want it, turn it down for a moment. Then, start with a lower pressure to soften and loosen any large clumps of dirt or other debris, so they don’t fly along the surface and cause scratches.
Step 3: Suds and Scrub
Next, you switch to the foam cannon to create a nice, thick layer of soap on the car’s surface. Let that soak for a minute before getting your wash mitt or sponge wet, and lightly scrub in a straight-line motion to prevent swirl marks. If you don’t already have everything you need, the Torque Detail Decon Wash Pack offers a great decon soap and a high-quality wash mitt to help you get the most out of this step.
Step 4: Rinse and Dry
Turn the pressure back up and power off the soap, along with any remaining stubborn patches, bird droppings, or bug guts. Make sure you start with the nozzle 2-3 feet away to protect your paint, and move it as close as 1 foot if needed.
Finally, dry it quickly and carefully with your microfiber or chamois towel, still going in a straight line to minimize swirl marks. Once it’s all said and done, if you find swirl marks from this wash or previous ones, there are effective ways to remove them.
Method 4: Waterless Method
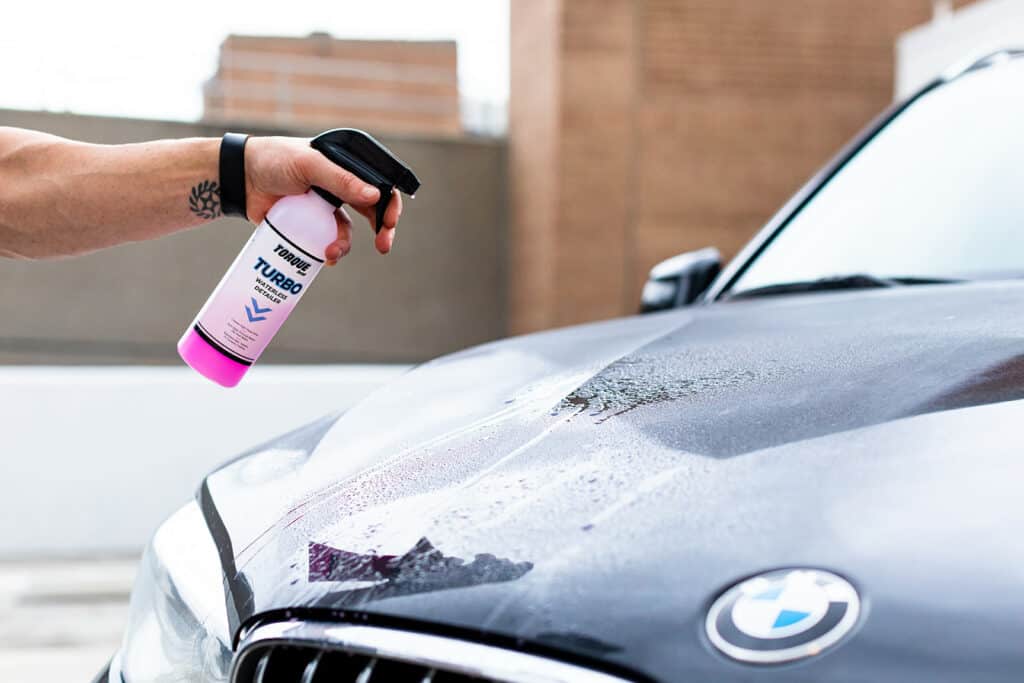
The waterless method is a convenient way to give your car a quick clean without soaking everything around you. However, it does have some disadvantages if done inappropriately, and it can’t completely replace a more traditional wash with water. To get the best understanding of how to do a proper waterless wash, you should check out this article.
What You’ll Need
The most important part of a waterless car wash is having the right washing agent, such as Torque Detail Turbo Waterless Detailer. You’ll also need some microfiber towels or soft, high-quality cloths. Just those two items, and you’re ready to get started.
Step 1: Spray It Down
Working on one panel at a time and starting at the top, give your car a few good sprays of your waterless car solution. Then, let it sit for about 10 seconds to really penetrate the surface dirt.
Step 2: Wipe It Off
After letting the solution soak in, fold your cloth into a square and wipe it off in a single smooth motion. Avoid using too much pressure that could drag dirt and grit across your car’s paint, leaving scratches. Instead, flip to a fresh part of the cloth and repeat on the next section of the panel.
Wheels and Tires
No matter what method you use, your wheels and tires need some attention, too. If you use the waterless method, you can simply follow the steps for washing the body. For the rest, follow the steps below.
What You’ll Need
To clean the wheels and tires, you’ll need a tire brush, a wheel brush and tire cleaner like Torque Detail Purple Destroyer, a cloth or sponge, and microfiber chamois or towel.
Step 1: Pre-Clean
Scrub the wheels and tires with the scrubbing brush. This knocks off the worst dirt and grime off so the tire cleaner can do its job more effectively.
Step 2: Spray and Wipe
Once you’ve given your wheels and tires a good scrub, spray them down with your chosen wheel and tire cleaner. Let it soak in for a few seconds, then wipe it off with your cloth or sponge. If there’s a particularly tough spot, you may need to do some gentle scrubbing.
Step 3: Rinse and Dry
The last step is to rinse the cleaner off the wheels and tires and dry them. If you have black or other dark color rims, this step is especially important to prevent water spots and other cloudy areas.
Tips and Tricks
No matter what method you use, there are a few things to keep in mind to keep your car looking its best for the longest.
Wash Wheels and Tires First
For the body of the car, you want to work from the top down, so the dirty water doesn’t trickle down onto the parts you’ve already cleaned. The same concept applies to washing your wheels and tires. Washing your wheels and tires, which tend to be the dirtiest parts of your car, keeps you from splashing dirty water from your wheels up onto your freshly washed car.
Use a Separate Sponge for Wheels and Tires
While it might be tempting to use one sponge or cloth for the entire car care, this can actually increase the risk of scratches on your car’s paint job. Your wheels and tires pick up a lot of dirt and grit that can get trapped in your sponge or cloth and then dragged across the surface of your vehicle.
Don’t Wash Your Car When It’s Hot
Heat makes water dry faster, and if water dries too quickly on your car, it leaves behind water spots. To minimize the amount of water spots, avoid washing your car on hot days or after it’s been recently driven.
Use Chamois or Terry Cloth Towels to Dry
While it’s important to dry your vehicle quickly after washing it to avoid unsightly water spots, you don’t want to just use whatever’s handy. For example, using a chamois, terry cloth, or other soft, microfiber towel will let you dry quickly without worrying about the towel fibers leaving scratches behind.
Reseal the Finish After Washing
Certain soaps can strip the wax off your car, along with dirt, grime, and other contaminants. To protect your car after a wash, you should apply a sealant to protect your paint from further damage.
★★★★★
High Rated Reviews from 150+ Customers
After a simple spray and wipe down using a microfiber towel, your car’s paint job will be protected for up to an entire year. Your car’s top coat impenetrable to any chemical, liquid, or environmental contaminant there is. In a matter of minutes!
Summary
Washing your car is an important part of maintaining it, but you want to make sure you do it the best way possible. Unfortunately, with all the information out there, it’s hard to know what the best way is.
While there’s a lot that goes into making that decision, some of the best methods are the two-bucket method, the garden hose method, the pressure washer method, and the waterless method. Give them all a try and see which one you like the most.
With every method, there are a few tips and tricks to keep in mind to help you get an even better cleaning process. Wash your wheels and tires first with a separate cloth or wheel cleaner. Avoid washing your car when it’s hot, and use soft towels such as chamois or terry cloth for drying. Finally, reseal your car’s finish after washing to protect the paint and finish.


