If you want the best gloss and shine for your car, you need to clay bar your car to truly get rid of contaminants in your finish. However, you can’t just leave your car to face the elements right after you’re done with the clay bar treatment. There’s another step you need to take before going for a long drive after the car detailing.
…Let’s Quickly Review: How to Use a Clay Bar Kit
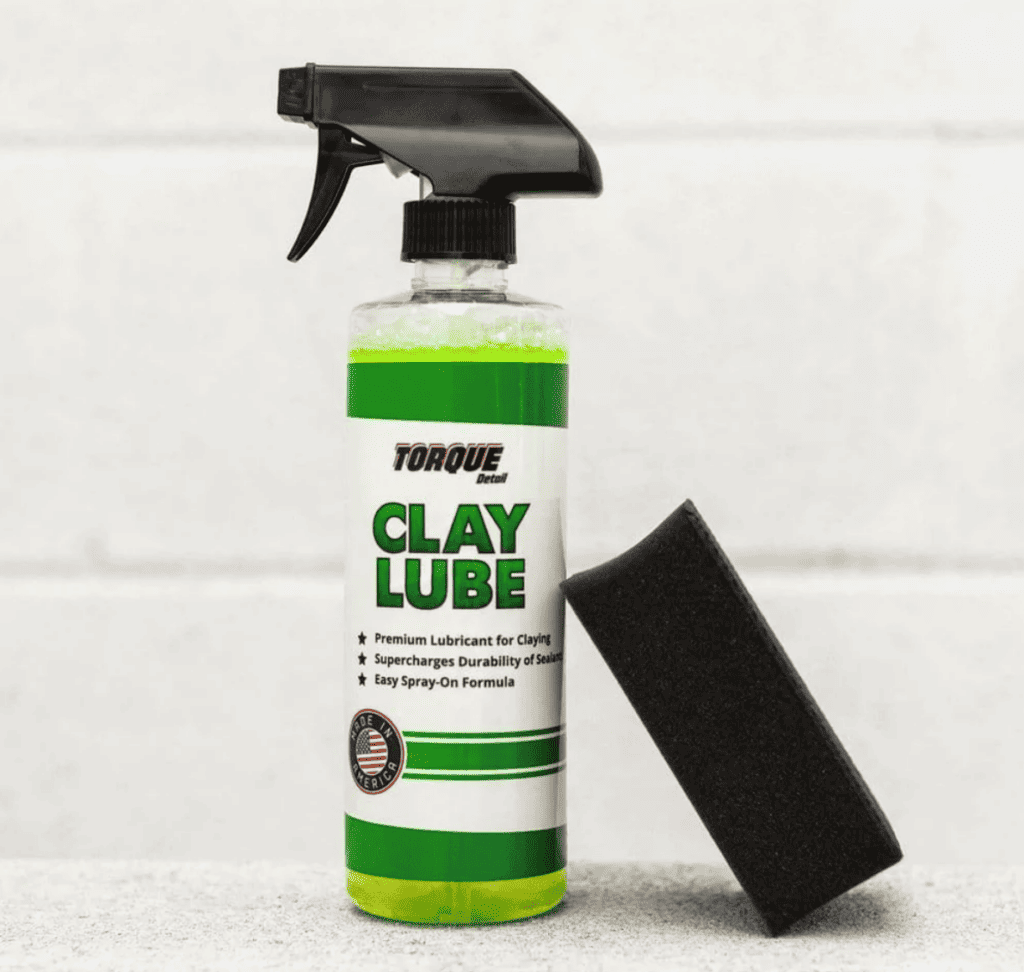
Before we get ahead of ourselves, let’s go over how to use a clay bar properly, so you don’t damage your paint. To get started using a clay bar, you must ensure your car is freshly washed to get the grime and larger debris off, and you also need to have plenty of clay bar lubricant on hand.
The clay bar is a soft, putty-like substance that you can manipulate into any shape. It catches the rough spots where contaminants have bonded to the surface of the finish and shears them off. With the proper clay lube, a clay bar removes contaminants without damaging the paintwork. When used properly, it also holds onto the contaminants so they can’t get back onto the paint.
Always make sure you use clay lubricant when using a clay bar on your car. Without it, the clay bar will catch and damage your paint the same way it removes contaminants. Once you’ve added plenty of lubricant, just run the clay bar across your car until you’re satisfied that all the contaminants have been removed.
After the Clay Bar What Is Next?
Once you’ve gotten all the surface contaminants of your paint with a detailing clay bar, you want to wash off any lubricant still clinging to your car or use a pre-wash cleaner polish that will remove the lubricant residue. This is also when you will polish or buff your paint to remove any defects.
Once you get rid of the lubricant residue and have done any polishing you feel is necessary, you need to apply a coat of wax or other paint sealant. A good sealant protects your paint from contamination and UV damage on the road. While this won’t eliminate the need for a clay bar pass in the future, it will improve the longevity of your entire car’s paint, keeping it looking better for longer.
Choosing Your Sealant – The Top 3 Choices
There are several different sealants on the market, but they all fall into three main categories: wax, ceramic, and graphene. Each type of sealant has unique characteristics and comes with its own set of pros and cons. However, they all offer some level of protection and a high shine for your vehicle.
#3: Wax
Carnauba wax, coming from the carnauba tree, was one of the earliest waxes made specifically for protecting cars. Available in its original yellow to brown flake form and mixed with solvents and lubricants to aid in application, it’s still commonly used today. However, it isn’t the only wax used as an automotive coating. Paraffin wax, montan wax, and beeswax are also available to protect and shine your car.
All the different types of wax can be applied in a similar manner. The important thing to keep in mind when using wax of any kind is to wait to apply it until it’s cool outside. The wax needs time to fully dry, and if you apply it when it’s too hot out, the heat can make the wax melt and keep it from drying properly.
#2: Ceramic Coatings
Ceramic coatings were the next step in detailing after wax products. Made from quartz, silica, and silicone-dioxide, ceramic coatings take advantage of nanoparticle technology to offer a layer of protection that bonds to your car’s finish. It fills in the pores in the paint and clearcoat, preventing contaminants from becoming lodged in those gaps. It’s also more resistant to UV damage, scratches, and harsh chemicals than waxes are.
DIY ceramic coatings are often found in an easy-to-apply spray or paste that is fast-drying and offers an acceptable level of protection. Traditional ceramic coating options are also available that require a professional application and up to 30 days to dry after a 5-day application process. However, the longer completion time provides better protection than DIY products.
👑 #1: Graphene Coatings
Graphene coatings are the latest improvement in nanoparticle technology that have their foundation in ceramic coatings. Using a form of carbon called graphene oxide mixed with a ceramic base, graphene coatings create a single layer of carbon that bonds to your vehicle’s surface.
This carbon layer is incredibly versatile and capable of protecting almost any surface. Similar to ceramic coatings, there are DIY and professional-grade options that offer different levels of protection.

★★★★★
High Rated Reviews from 150+ Customers
After a simple spray and wipe down using a microfiber towel, your car’s paint job will be protected for up to an entire year. Your car’s top coat impenetrable to any chemical, liquid, or environmental contaminant there is. In a matter of minutes!
Benefits of Graphene Coatings After the Clay Bar Process
The single layer of carbon produced by graphene coating is stronger than steel. It’s even been considered by airplane manufacturers as a way to strengthen the hull of their planes. It’s also incredibly durable and long-lasting, and a high-quality DIY graphene coating can last a year or more, with professionally applied graphene coating lasting even longer.
The atomic structure of a graphene coating allows it to do more than just fill in the gaps to keep contamination out. It offers a high contact angle and low sliding angle that helps repel water, minimizing water spots. These same slick properties also repel harsh chemicals like those found on wintery roads and make bird droppings, bug guts and rail dust easier to remove.
Graphene coatings also have anti-static characteristics that make it harder for dust and dirt to stick to your car’s surface. They are also incredibly flexible and resistant to chips and cracks. Because they go on in such a thin layer, they’re also very heat resistant, making them great for warmer climates without losing efficacy in cold weather.
The most eye-catching part of a graphene coating is the unmatched sheen. The characteristics that contribute to its incredible ability to protect your car’s paint also create an amazing gloss and shine. The glassy look doesn’t fade with the first rain shower or snow storm, either. The mirror-like appeal of a graphene coating will last as long as the coating does.
Even though a graphene coating will bond semi-permanently to the surface of your car, many DIY options are easily applied. This makes them more accessible than traditional ceramic coatings while offering better protection. If you choose a professionally applied graphene coating, you can expect the best level of protection that will last for years to come.
Graphene coatings aren’t just for your paint correction, either. Because graphene is so versatile, there are graphene products for chrome, plastic trim, and tire shine to protect your entire vehicle from the elements. You really can’t go wrong with a good graphene coating.
How to Apply a Graphene Coating After Claying Your Car
Because of the semi-permanent nature of a graphene coating, you need to be careful when applying it to your car. Mistakes should be fixed as quickly as possible, though different types of graphene coatings will be more tolerant of mistakes than others.
While DIY graphene coatings are easier to apply, they aren’t as strong or as long-lasting as professional graphene coatings. However, choosing a DIY option isn’t wrong, either. Just be sure to read up on how to properly apply a DIY graphene coating before you get started on your vehicle.
Preparing Your Vehicle
If you’re looking for the next steps after using a clay bar, chances are you’re familiar with the basics of auto detailing vehicles. You may have already completed these steps before reading this article, but they’re important enough we want to reiterate them. Because graphene coatings form a chemical bond with your car’s surface, any contaminants left behind can prevent proper bonding.
Step 1: Wash and Decontaminate
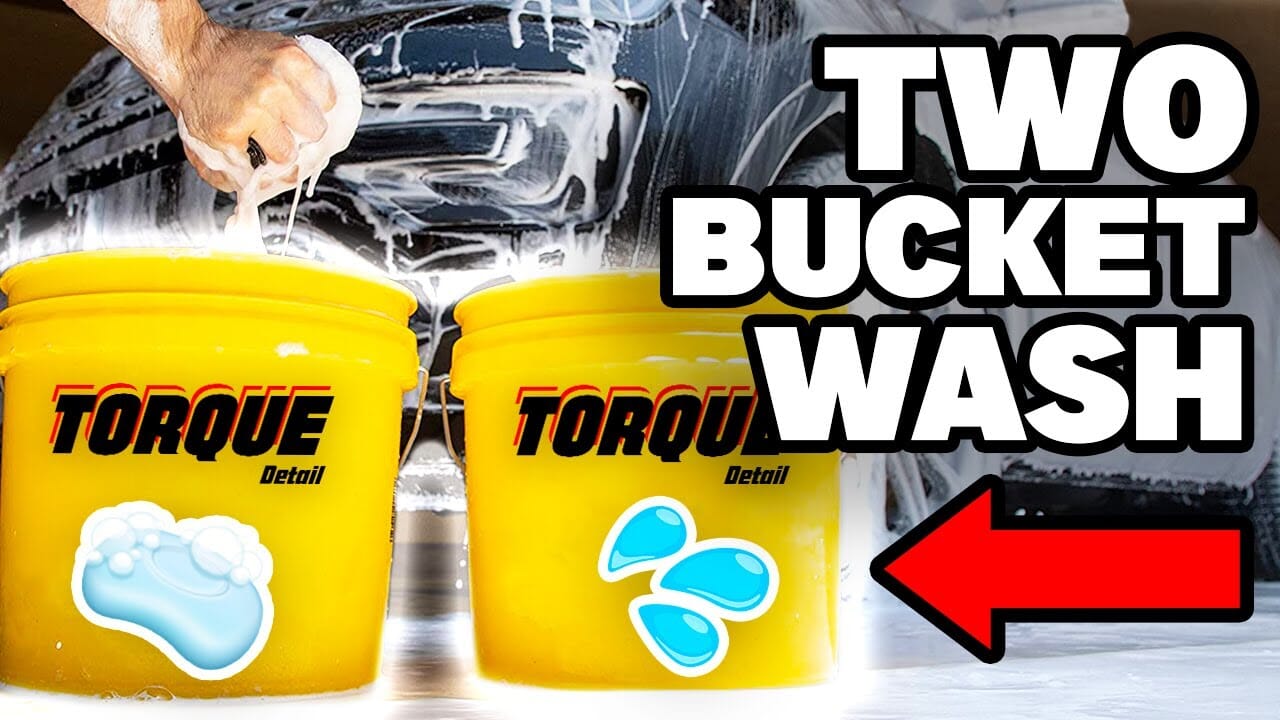
Washing your car with a good quality car shampoo is the first step for any detailing project. If you’re planning on applying a graphene coating, you should pick a shampoo that doesn’t have any protective additives that could interfere with the graphene. Foam guns work great for applying your shampoo, but you can also use the Two-Bucket Method.
After your initial wash, a decontaminator will remove some of the tougher contaminants that the shampoo misses. You may also need an iron remover if it’s not already included in your decontaminator. While your decontaminator may not remove all the bonded contaminants, it’s still an important step to make later steps more effective.
Step 2: Dry
This may seem like common sense, but properly drying your car is essential to maintaining its finish, even if you have more detailing planned. Towel drying after rinsing your car prevents unsightly water and soap spots and can prevent proper bonding of a graphene coat. Make sure you use a soft, plush microfiber towel to dry your car without scratching it.
Step 3: Remove Bonded Contaminants Using a Clay Bar
This is the final step before you move on to applying your graphene coating. To ensure you remove the last of the bonded contaminants from your vehicle, simply follow the above instructions for “How to Use a Clay Bar.”
Applying DIY Spray-On Graphene Coatings
Not all DIY spray-on graphene coatings are created equal. Some, like Torque Detail’s Graphene Burst, are incredibly easy to use without sacrificing quality and give you a durable layer of protection that won’t take all day to apply. These also tend to be more forgiving of mistakes than other graphene coating options, making them a great option for beginners.
We’ll demonstrate the application process using Torque Detail’s Graphene Burst as an example.
Step 1: Shake Your Graphene Burst Bottle
Shaking a spray-on graphene coating ensures the nanoparticles are adequately mixed and evenly distributed. This allows the coating to be applied more evenly and produces a better end result.
Step 2: Make Sure the Car is Cool and Dry
It’s best to apply a graphene coating in cooler weather. You also must ensure your car is dry so water can’t get between the clear coat and graphene coating.
Step 3: Prep Your Microfiber Towel
Aiming away from your car, spray a clean microfiber towel one to three times to prime it. This covers the towel with your coating, allowing for a more even application.
Step 4: Apply the Coating
In small 4×4 areas, spray the solution and buff it using straight-line motions to minimize swirl marks. You can also outline the area you’re working on, then fill it in using straight-line motions to ensure even application.
Step 5: Buff and Polish
Using a second, clean microfiber cloth, buff your car’s paint to achieve your desired level of shine. Work one panel at a time so you can keep track of what areas have already been buffed, producing a more even finish.
Step 6: Cure the Coating
To fully cure, the graphene coating needs to sit for 6-12 hours. Make sure you keep your car somewhere protected from dirt, debris, and moisture during this time to prevent imperfections from forming. Also, avoid driving your car during this time frame to avoid exposing it to anything that could damage your paint finish.
Maintaining a Graphene Coating
Graphene coatings aren’t particularly difficult to maintain with basic care. Foam guns or the Two-Bucket Method are ideal for minimizing scratches and other damage from washing by minimizing the amount of grit dragged across the finish.
While the general washing process is the same as for other coatings, graphene coatings need a cleaner with a neutral pH. While these coatings are great at protecting your car’s paint, they can start to break down with non-neutral pH options. This reduces the lifespan of your coating and can put your paint at risk. Similarly, you should avoid automatic car washes and the harsh chemicals they use.
If your graphene coating starts to look dull, it can be restored with a topper or detail spray like Turbo Waterless Detailer. Using a decontaminator and iron remover every few months is also recommended to remove any contaminants bonded to your graphene coating.
It’s important to keep an eye on how well it’s protecting your car to help you determine when it’s time to reapply. When you reach that point, simply repeat the above steps. This time frame can range from six months to a year or more with high-quality graphene coatings like Torque Detail’s Graphene Burst.
Keep Your Vehicle Clean and Pristine
After passing a clay bar over your car’s surface, you may have removed the bonded contaminants, but you aren’t done detailing yet. Next, apply a sealant to protect your freshly decontaminated finish. You have the choice between wax, ceramic coatings, and graphene coatings.
Wax is the classic sealant and has a long history as well as some benefits. Ceramic coatings are a newer option and can offer better protection than a wax. A graphene coating is the best option and provides the best protection out of all the available options — even a DIY graphene coating has more strength and durability than a traditional ceramic coating.
★★★★★
High Rated Reviews from 150+ Customers
After a simple spray and wipe down using a microfiber towel, your car’s paint job will be protected for up to an entire year. Your car’s top coat impenetrable to any chemical, liquid, or environmental contaminant there is. In a matter of minutes!
Despite their high level of protection, graphene coatings are surprisingly easy to apply, though you want to take care not to leave any mistakes long enough for them to cure. Properly preparing your car for application is essential to getting a good bond between the graphene and your clear coat.
Once your car is prepared, applying a graphene coating is as simple as wiping it on, buffing it in, and letting it cure. Maintaining your graphene coating is just as simple. Just make sure you pick a graphene-friendly shampoo and wash your vehicle as you would with any other coating.

I help run the day to day for America’s Number #1 Car Wax Mirror Shine by Torque Detail. As a Certified Detailer by the International Detailing Association, I use that knowledge to help create products that get professional grade results with super simple application techniques.