Miranda Detailing from Richmond, Virginia run a very successful mobile detailing company. They also maintain a popular YouTube channel, posting videos of real world detailing applications, product tests and how tos.
Phil and his wife got a hold of our entire product line and gave it a run for their money during a full detail job on a customer’s 2018 Volkswagen Jetta. The car was in fairly good shape but needed some TLC.
WATCH: PERFECT Interior & Exterior Detail Using Torque Detail Products
This was their very first time trying any of our detailing products and they passed with flying colors. Watch the full video above.
Step 1: Pre-Wash
As with any detailing job, Phil begins with a thorough rinse with water.
A second pass with all-purpose cleaner removes the majority of road grime and stuck dirt from the surface of the vehicle.
It’s especially effective for loosening and removing debris from the wheels and wheel wells, tires, door and trunk-lid jambs, and the fuel door.
You should mix APC 10:1 with water for regularly washed vehicles. You can ramp the ratio up to 4:1 for cleaning very neglected cars. Acknowledge that all-purpose cleaners usually contain some amount of degreaser which, aside from dirt and contaminants, will strip down soft coatings like wax or paint sealant.
This is okay, so long as you’re planning to deep clean the vehicle, perform paint correction, and reapply the coating. If you just want a light wash, skip this step.
Step 2: Decontamination Wash
APC is great for removing the top film of dirt, but for stuck, baked on grime and contamination, you need something stronger.
Phil proceeded to foam the vehicle with a thick layer of decontamination soap. The product of choice was Torque Detail’s Decon Shampoo. This product strips the surface clean from any previous coatings like wax and paint sealant. More importantly, it dissolves the vast majority of surface contaminants like brake dust, mineral deposits and overspray. It also breaks down organic contaminants like tree sap, bird goop and bug splatter. After washing, the paint is perfectly clean and ready for polishing and correction steps.
Phil diluted the product 2:1 with water before loading the foam cannon. The pressure washer dilutes that further, so the final ratio depends on how you adjust the control knob on your foam cannon.
They mixed 12 ounces of solution and used less than half for the job, while still laying a thick carpet of foam. Crude math says you only need a couple of ounces of Decon Soap per wash.
Step 3: Clay Pass
Phil and his wife combined the claying and wash mitt passes into a single operation. This reduces the time it takes to complete a detailing job. Every minute counts when you’re running a business.
The foam cannon soaps up the surface thoroughly and our high quality Decon Soap provides plenty of lubrication to run a clay mitt down the panels.
A soft brush is used to reach in the tight crevices and seams of the body panels, especially on the front end.
The process is efficient and produces no more marring on the surface than regular clay pass with lubricant. The vehicle is going to be polished anyway, so this is not a concern in this case.
You can buy a Torque Detail’s special Clay Bar Kit, containing a similar reusable clay pad and our dedicated clay lubricant
Step 4: Blow-Drying The Car
After thoroughly rinsing the car off, Phil proceeds to dry the paint and engine bay with air. This no-contact drying is the ultimate method to drying your vehicle. The air blows out all the seals and crevices where water collects and eliminates scratches and marring from wiping down the paint.
Step 5: Plastic Restore
While under the hood, Phil finishes the engine bay with a plastic restore product. Then he continues onto the exterior trim.
You can use Torque Detail’s Plastic Restore. This product is designed to rejuvenate plastic, vinyl and rubber components. It penetrates into the part and refreshes chemical composition to fix the faded, dried up and brittle surface. Finally, Plastic Restore adds a layer of UV protection to keep that jet black glossy look for longer.
Step 6: Vacuuming the Interior
While the plastic restore product cures on the outside, Phil and his wife moved inside, where the Jetta needed thorough vacuuming to make right.
There was a lot of debris on the carpets, though not too many stains and spots.
The biggest tip here is to use a strong vacuum machine and a set of brushes to dislodge the dirt from the surfaces.
Use a soft brush to remove dirt and debris from the dashboard, center console, doors and foot rests. You’ll be surprised just how much gets collected in those tiny nooks and crannies.
Use a thick carpet brush while vacuuming the floors. It will disturb the fibers and dislodge stuck debris and dirt, so you can vacuum it away.
If the fabrics are heavily soiled, you may need to go for hot water extraction. For light stains, try a steam generator. The heat should loosen up the stains and make them easy to clean with regular carpet and upholstery cleaner.
Step 7: Wiping Down The Cabin
For the interior surfaces of your vehicle, we recommend trying Intra Clean by Torque Detail. This interior quick detailer is designed to clean all types of materials - plastic, vinyl, leather, carbon fiber, metal and wood trim.
If you’re looking to preserve your interior, we suggest finishing with Intra Shield - a ceramic-infused interior conditioner and protectant. It will seal the surfaces away from harmful UV radiation which is the main reason for deterioration of plastic, leather and vinyl materials.
You can buy Intra Clean and Intra Shield as a kit. Alternatively, for leather interiors we recommend our Leather Restore Ceramic Conditioner - a leather conditioner infused with ceramic SiO2 particles and added Vitamin E. It nourishes old, dried leather and gives it long-term UV, water and dirt protection.
Step 8: Polishing
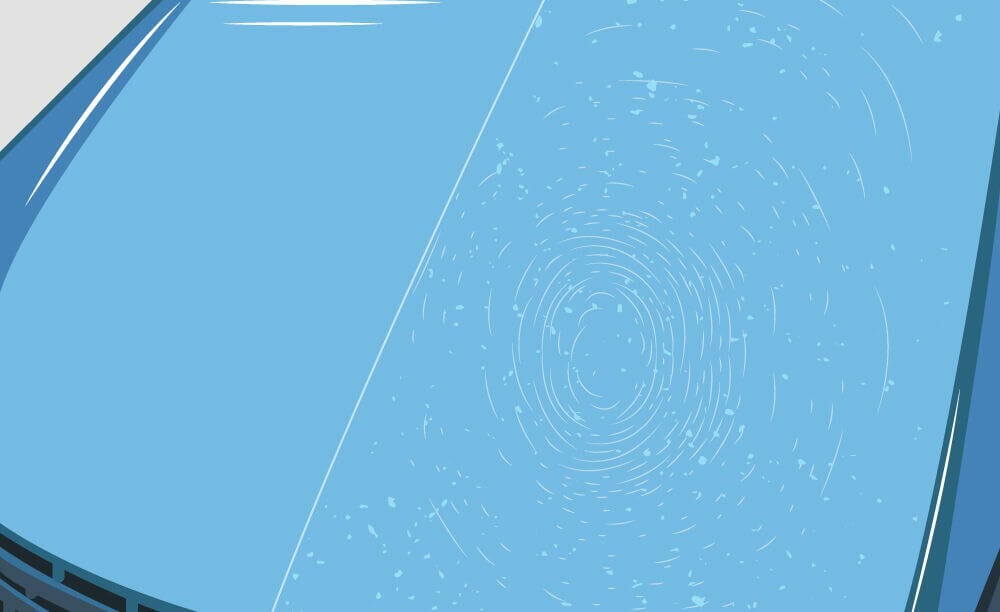
The Jetta’s paint was in near excellent condition minus a few scratches on top of the roof and hood.
Torque Detail’s Reverse: Scratch & Swirl Remover is perfect for small paint correction jobs. It’s applied by hand, using just a clean microfiber towel, and makes light work of shallow scratches and swirl marks.
The last bit is important! Make sure you only use clean, high quality microfiber towels when buffing or wiping on dry paint. Any dried residue from previous operations can introduce new scratches and cause more harm than good.
Depending on the condition of the paint, you may need to switch to a machine polisher for removing more visible clear coat defects and scratches. Reverse is still usable via machine, but keep in mind it’s not an aggressive product, designed to grind the clear coat away and flatten deep scratches.
Step 9: Coating
Phil’s wife proceeded to coat all body panels with Mirror Shine - Torque Detailer’s special ceramic-infused synthetic wax spray.
This is an amazing product that replaces all your waxes and paint sealants. It comes in a spray formula and is super easy to apply:
- Spray onto a clean microfiber towel
- Buff it into the surface
- Wipe away with a second clean towel
There’s no streaking, smearing, or any other application defects. Just wipe on, wipe off, and your vehicle is waxed and ready for the road in minutes.
Mirror Shine produces an extremely glossy surface that has hydrophobic and anti-static properties. Water runs right off the panel and dirt has a harder time sticking to the surface.
While not as durable as true ceramic coatings, the formula is designed to offer exceptional longevity compared to other waxes. Mirror Shine will last up to 6 months, protecting your vehicle’s paint against UV, water, contaminants, and dirt.
Step 10: Quick Detailing
Finally, Phil finished the paintwork off with Turbo - Torque Detail’s Ceramic Waterless Detailer. This SiO2-infused quick detailer helps maintain the vehicle’s pristine look, boosts the hydrophobic properties and enhances the glossy appearance.
The Turbo Quick Detailer is ready to use. Just spray it onto a dry panel and wipe with a clean microfiber towel. You can use it whenever and wherever you want to. Turbo’s formula will breakdown and dissolve any dirt and surface contaminants - no rinse needed.
Step 11: Tire Dressing
The last step on this job was dressing the tires. Torque Detail’s High-Gloss Tire Shine is an excellent solution to address beat up faded tires.
Phil sprayed some product onto the tires and finished off with a dedicated applicator pad. The product absorbs into the rubber and restores its deep rich sheen. Additionally, it softens up hard and dried tires, rejuvenating some of its flexibility and giving it resistance against UV and dry rotting.
Miranda Detailing’s Highlights
After completing a full detail job on a customer’s car, Miranda Detailing was very impressed with the Torque Detail product line.
Phil testified our products are really easy to use. They bring out the enthusiast detailer in everyone, especially since you see immediate results with very little effort invested.
Phil’s favorite products were:
I help run the day to day for America's Number #1 Car Wax Mirror Shine by Torque Detail. As a Certified Detailer by the International Detailing Association, I use that knowledge to help create products that get professional grade results with super simple application techniques.