Waxing a car is still one of the most effective ways of keeping your vehicle looking as shiny as it did when you first got it from the dealership. Waxing also helps to protect a car’s paint. Many people opt to wax their cars using a DA polisher, but nothing beats the satisfaction of waxing your car by hand. As you’ll see here, you don’t have to have car detailing experience to wax your car like a pro.
As a general rule, you need to prepare the car before you start the waxing process.
The preparation process involves giving your car a proper wash. If you fail to clean the car well, you may press dirt particles into your paintwork while buffing the wax; this could cause unsightly scratches.
As an option, you can also add polishing to the preparation process. A fresh coat of polish will help to restore the shine of your car’s paint while covering minor imperfections that may include swirls, patches of faded paint, and scratches. The polish will do your car a world of good and will assure you of better results after the waxing process. A great product for this step is our very own Reverse: Scratch Remover and Swirl Repair - All-in-One Paint Correction Compound.
You also need to inspect your car’s paint prior to waxing it. If it has embedded contaminants like debris, tree sap, bird poop, or asphalt, you must remove them first. Also, the condition of your car paint will guide you on the wax type to use. You can use either natural wax or synthetic wax, both of which are available in three different wax forms: paste wax, liquid wax, or spray wax.
It is also important to choose an appropriate location waxing your car. An enclosed structure like a garage would be ideal.
Car Waxing Mistakes To Avoid
Waxing a car may seem like a straightforward practice that you can’t mess up, but the truth is that many people make mistakes when waxing, and those mistakes end up negatively affecting the overall result of the waxing process.
Wax Mistake #1: Applying Wax When Your Car Is Wet
If you intend to apply wax on your car right after washing it, you must first dry it off. The old saying “oil and water don’t mix” applies here. The moisture on your car’s surface will prevent the wax oils from bonding evenly with your car’s paint. As a result, you won’t get the shine you’re looking for.
Wax Mistake #2: Using Old, Dirty Applicators and towels
It's okay to recycle wax applicators, but you have to keep them clean to ensure that they offer the same soft consistency they initially offered. Many people stow away used applicators without cleaning them thoroughly, so bits of wax remain on the applicators.
That old wax hardens, forming a crunchy crust on the applicators. You may get some of it off when you try to wash the applicator later on, but you probably won’t get rid of all of it. Such wax pieces will scratch and damage your paint when you try to use those applicators again for waxing later.
Therefore, your safest bet is to use new applicators when waxing. If you have to use the old ones, make sure you clean them thoroughly right after every waxing procedure to get rid of all the wax. Make sure you also store the cleaned applicators in a clean, enclosed storage area.
Tip: Use High-Quality Microfiber Towels.
Your vehicle is worth it! Using an incorrect towel can cause scratches and swirl marks. Microfiber towels are soft, scratch-free, are relatively inexpensive, and can be machine washed many times.
Recommended: Torque Detail Microfiber Towels, Designed For Pro Detailing (6-pack)
Wax Mistake #3: Applying Too Much Wax
Car waxing is one of those practices where less is more. Being generous with the wax on your car won’t help to make the car any shinier. You’ll just end up wasting a lot of wax and will make the waxing process more tedious because you’ll have to work harder to buff it off.
Wax Mistake #4: Using Ordinary Cloths For Buffing
They may look almost the same, but microfiber towels and cloth towels are worlds apart as far as their ability to lift wax, dirt, and debris from your car’s surface is concerned.
Cloth towels get saturated much quicker than microfiber towels, so you may end up dragging a lot of wax and debris across the surface of your car’s paint when you use them.
Microfiber towels are structured in a way that enables them to trap and lift dirt, debris, and other things much more effectively.
Wax Vs. Sealant Vs. Ceramic Coating: What Should You Use?
We’ve actually written in depth here about wax vs. sealant.
The debate on which of these three car paint protection solutions to use has raged on in the automotive industry for decades. Wax remains the oldest and most popular way to bring out shine and give a bit of protection to a car.
It helps to protect a car’s paint from the elements and other things like bird poop, tree sap, asphalt, and road salt that may damage your paint. Arguably the most popular form of car wax is natural carnauba wax, which offers up to four months of protection.
A polymer or synthetic sealant is a step up from wax in terms of its durability and its ability to protect car paint. It’s slightly pricier and has higher heat resistance thanks to the fact that it forms a stronger bond with the car paint. A polymer/synthetic sealant typically lasts six months to a year.
The priciest of the three is ceramic coating. This is very popular now, especially among supercar enthusiasts and classic car collectors. It can withstand extremely high temperatures, and also holds its own against acids and chemicals.
A professional-grade ceramic coating is a lot more difficult to apply than a traditional car wax. However, our spray ceramic coating (Ceramic Spray) is an alternative to a pro-level ceramic coating that’s very easy to apply. You’ll get up to a year’s worth of protection and great shine with this product.
Best Weather For Waxing Your Car
The best weather for waxing your car is when it’s dry and partly cloudy, and when the temperatures outside are below 80 degrees. Waxing your car in direct sunlight is not a good idea because the sun will cause the wax to dry out quickly. It can also bake on your car soap as you’re washing if you aren’t careful. When that happens, buffing becomes more difficult; you may even end up leaving streaks or swirl marks.
Moreover, when you wash your car in the scorching sun, some car wash soap may dry into the paint if you let it sit for too long. You’ll have to move fast, and you’ll also have to use a lot of water to get all the soap off the car; you may not always be able to do that. Therefore, you’re better off waxing in cloudy weather or when the car is parked under shade. Doing so in an enclosed area like a garage is always best.
How Long Does It Take To Wax A Car?
The time it takes to wax a car depends on your level of thoroughness; it also depends on the processes you wish to include. As is to be expected, it also takes longer to wax a truck or a large SUV than it does to wax a small car. If you’re just going to wash and dry off the car and then give it a good waxing, a compact car like a Chevy Cruze can take you approximately 1 hour. However, if you add claying and polishing to the process, you could end spending up to 4 hours.
How To Wax A Car By Hand: FULL Wash + Wax
The best time to wax your car is in the evening when the temperatures outside are low. This will help to keep the surface of your car cool. Waxing in the evening will also give the wax several hours to set into the car’s paint before it gets exposed to sunlight.
Material List
- Torque Detail Decon Soap
- Microfiber Washcloths
- Torque Detail Clay Decon Kit
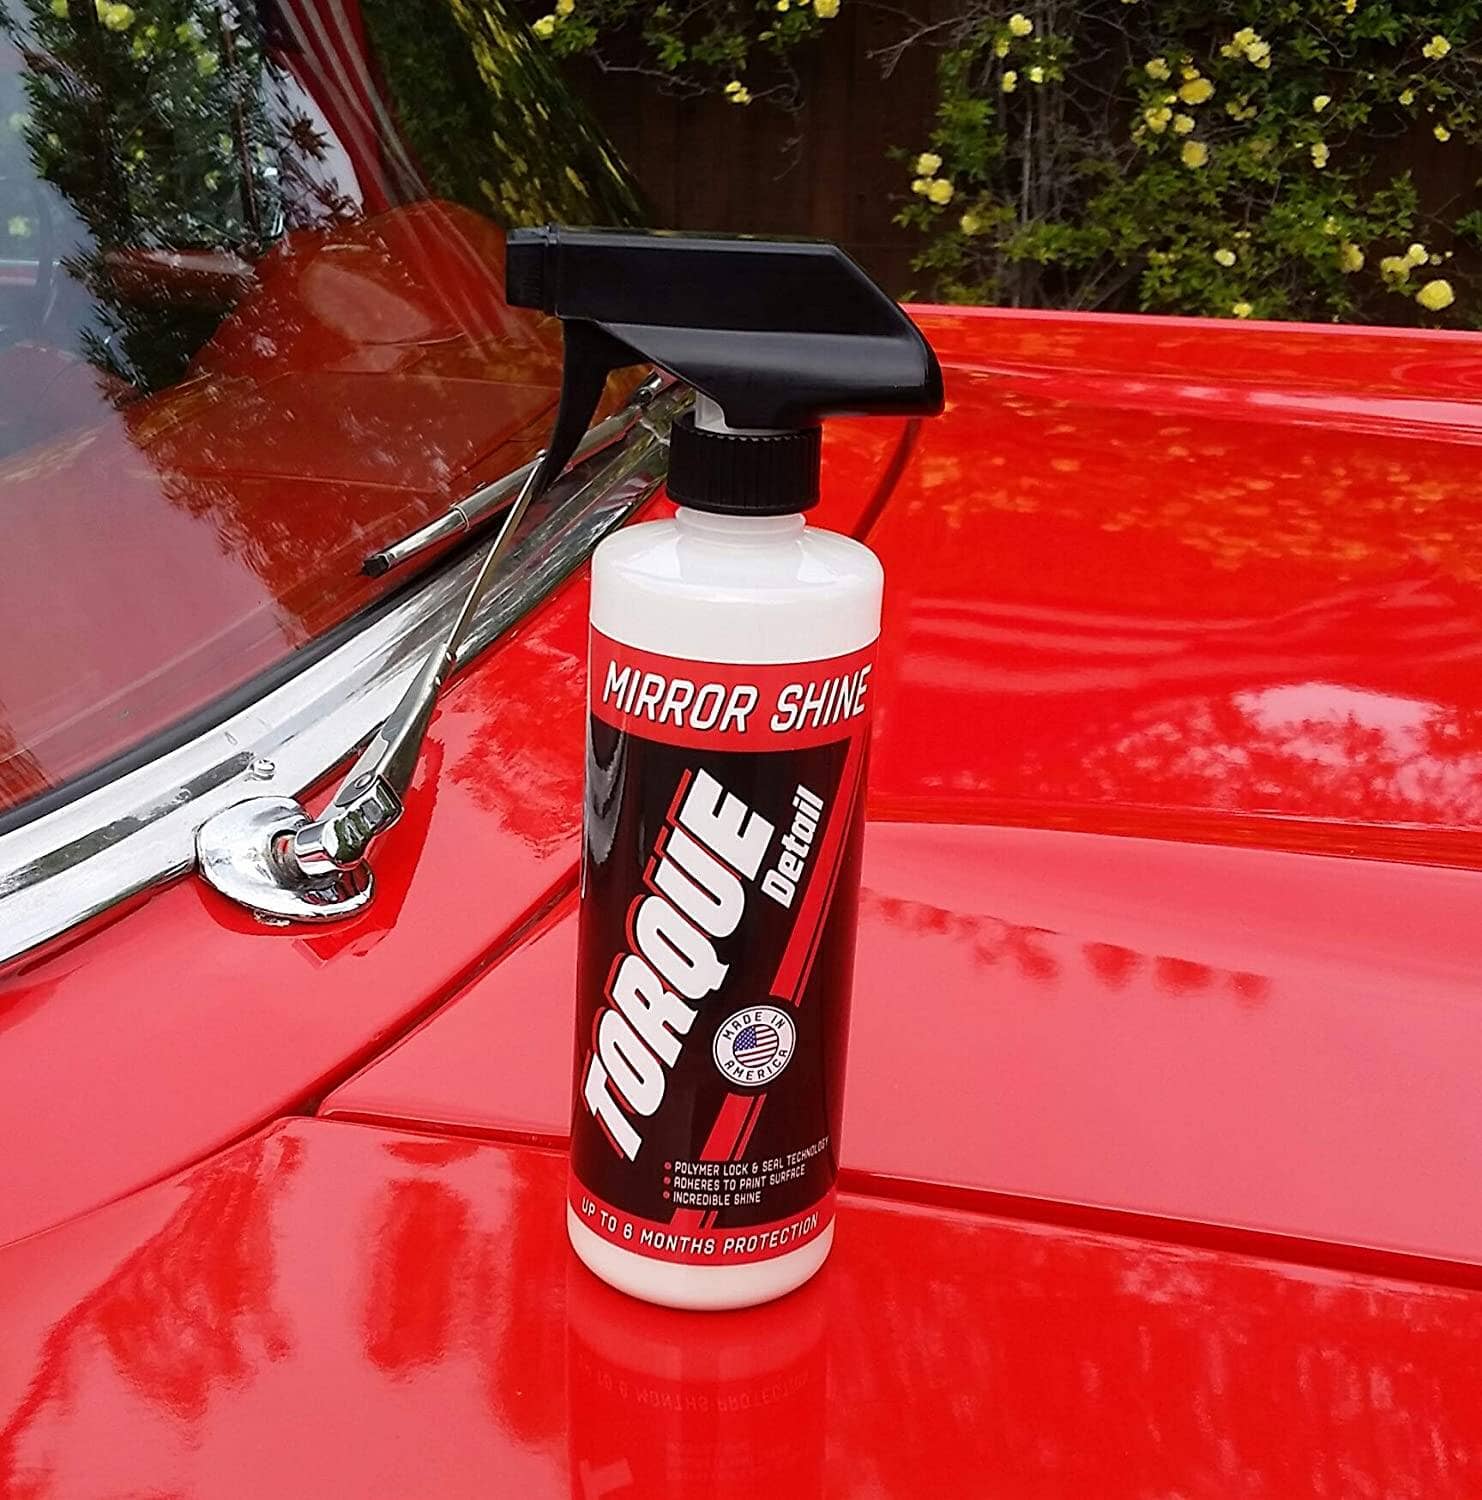
- Torque Detail Mirror Shine - Super Gloss Hybrid Car Wax Spray & Sealant
- A water hose
- Bucket (Recommended to have 2 buckets for the 2-bucket wash method)
Step 1.) Wash And Dry Off The Car
Give your car a good washdown. With a good quality washcloth, rub all the body panels hard with soap and water, preferably in circular motions to dislodge all the dirt and grime. After that, wash it down with enough water. To get all the dirt off, you need plenty of water, so you would do well to use a water hose to supply the water instead of collecting it from a bucket.
After washing, dry the car off using highly absorbent towels. Make sure you get rid of all the moisture, and you also need to remove all water spots that may form on your paint.
Step 2.) Clay Bar The Car To Remove Embedded Contaminants
After washing and drying off the car, inspect the car’s paint to see if there’s any stuck-on grit and dirt left behind. If you see or feel such embedded contaminants, use a good quality clay bar and clay lubricant to remove them.
Go section by section, spraying the clay lubricant over the paint and then rubbing the paint surface with the clay bar. Keep folding the clay bar into itself as you go; this will prevent dragging dirt and grit across the paint surface.
After you’re done with the clay barring, use a microfiber towel to wipe off the lubricant and dislodged dirt.
Step 3.) Correcting Imperfections (Optional)
Many hobbyists will skip this stage as it is not 100% required to get a DIY result that you will be proud of. However, perhaps that's what separates the amateurs from the pros.
Now is a great time to make use of 'Reverse: Scratch & Swirl Remover'. It is an easy to use polishing compound that will make all the difference in your final result.
Simply buff in a small amount of it using a clean microfiber cloth.
Step 4.) Polishing, Waxing, And Sealing - Done In One Go!
Polishing, waxing, and sealing processes are mostly done separately, but thanks to Mirror Shine, you can do them all in one go. This 3-in-1 product saves you the cost of buying different products for the three processes, and its Special Bonding™ Formula guarantees up to 6 months of protection. We say 6 months to be safe, but some customers have found it to last for nearly one year!
Read on below to learn how to use it!
How To Apply Mirror Shine
"Saw this being promoted on a big YouTube channel and thought why not try it. Was a bit skeptical but WOW. Super easy to apply and car is shining. Water still pelts off 3 weeks later! Gonna ditch the wax and will continue to use." - Josh S.
- First, shake the Mirror Shine™ spray bottle thoroughly just as you would when using other detailing products.
- As with the clay barring, it’s wise to go section by section. You shouldn’t use much; just a small amount of Mirror Shine will do. The bottle’s sprayer will help you to direct it exactly where you need it. Use a clean microfiber towel to work the solution into the paint. You can choose to make either circular or up-down strokes as you do so.
- When you’re done with that, use another clean microfiber towel to buff the paint surface. Continue buffing until you achieve your desired polish. We recommend that you apply a second coat, and even a third one depending on your taste. Each coat adds further shine and protection.
- Move on to the next section and repeat the process.
- When you’re done, you should give the solution several hours to cure. This means you shouldn’t touch the paint or drive the car for a while.
- You can reapply Mirror Shine™ as needed.
When fully cured, the Mirror Shine wax/sealant provides a shine that’s hard to beat. It causes water to bead up on the paint surface dirt to slide off.
What To Look Out For When Waxing
If you notice the product washing off after a car wash or rainstorm, it means that it never bonded to your paint as it should have. When applied the right way, Mirror Shine does not wash off. What may have caused the poor bonding is a contaminated paint surface. To ensure the absolute decontamination of your car’s paint surface, we recommend the use of Reverse (a scratch and swirl remover) and/or a decontaminant "decon" wash prior to applying Mirror Shine.
How To Wax A Car By Hand: Routine Maintenance (Two Methods)
The longevity of the Mirror Shine™ wax coating largely depends on how you care for your car’s paint in the subsequent weeks and months. To keep dirt and grime from setting into the wax finish, give the car frequent washes. You also need to have the right cleaning and waxing technique, and to use gentler products.
Method 1.) Waterless Wash (Recommended)
Our first and most recommended way to maintain your waxed vehicle is with Torque Detail Turbo Waterless Detailer. You don’t have to bust out the hose, it’s quick to use, and the product will enhance and protect your car wax. This is an absolute must-have for any black car owner in order to keep it looking clean all the time.
Material List
- Torque Detail Turbo Waterless Detailer, wash your car with ease without having to bust out the hose! It enhances and refreshes your wax.
- Extra-soft, high-quality microfiber washcloths
- That’s it!
Step 1.) Spray on your Turbo Waterless Wash
Spray Turbo Waterless Wash on one panel of your car.
Step 2.) Buff in the product using a microfiber towel
Take your time and buff in the Turbo Waterless Detailer using a microfiber towel.
How easy was that?
Turbo Waterless Detailer is an incredible way to wash your car and refresh its shine. It's a great multi-purpose detailing product as well. We've recently demonstrated how it works as a lovely tool to remove bird poop from your car fast and safely.
Method 2.) Regular Non-Wax-Removing Car Wash (For very dirty vehicles)
Our second method makes use of Torque Detail Ceramic Wash. We recommend making use of this method if your car is extra dirty and you’re going to have to hose down your car anyway to fully get it clean. Just gone mudding and your Wrangler is filthy? This is the method for you.
Material List
- Torque Detail Ceramic Wash - pH-balanced car wash soap that enhances wax and ceramic coatings
- A microfiber wash mitt (included in our Pro Detailer Bundle)
- A bucket (preferably two for the two-bucket wash method)
- A water hose
Step 1.) Hose down the vehicle with water
Wet down the car with water and dry to knock off as much dirt, mud, and dust as possible. This is why a pressure washer is an especially useful tool for washing a car. It will knock off mud like nobody's business.
Step 2.) Apply Torque Detail Ceramic Car Soap
Fill up your bucket with water and add an appropriate amount of Ceramic Soap as mentioned on the bottle. It should be nice and sudsy. Dip your wash mitt to get it full of soap and water and begin to wash down the car. If’s is a hot, sunny day, only do one panel at a time and rinse off as you go to avoid the soap drying on.
Step 3.) Rinse off the remaining soap
The final step is to rinse off all the soap. If you’ve used a product like Ceramic Wash, your car wax will still be intact and will also be enhanced.
Frequently Asked Questions
Here are some of the questions that people often ask about how you ought to wax a car; we’ve provided responses to all of them.
How Often Should You Wax Your Car?
This depends on how much your car’s wax finish has to contend with enemies like direct sunlight, dirt, road salt, asphalt, and bird poop. If you use your car regularly, e.g. for your daily commute or errands, you ought to wax it more often than someone who drives their car only once in a while, e.g. once a week. In general though, we recommend that you wax your car every three months, or at least three times a year.
How Often Should You Clay Bar Your Car?
Certain aspects should also be considered when determining how often you ought to clay bar your car, such as where you live, how often you use your car, and how you garage it.
For example, if you drive on dirt roads or live near or drive through areas with railroad tracks or construction projects, your car’s paint is more likely to collect embedded contaminants, so you ought to clay bar your car more often in such circumstances.
It’s a good idea to clay bar your car after your initial wash, but this isn’t mandatory. As a general rule, most car detailers recommend that you clay bar your car 3-4 times a year.
Keep in mind that excessive clay bar usage is also not good for your car’s paint, as it can wear it out.
How To Remove Car Wax
When you want to upgrade your car’s paint protection, e.g. with a sealant, you have to remove your old car wax. There are three ways to do this.
Clay Bar
Recommended Product: Torque Detail Clay Bar Kit
Just as you do when preparing for a wax, first wash and dry off the car. Do the clay barring section by section, spraying the clay bar lubricant and then rubbing the paint surface with the clay bar using light to medium pressure. Continue to spray more lubricant as needed as you continue to rub the paint surface, and keep folding the clay bar into itself as you go to avoid dragging dirt over the paint. When you’re done, buff off the car paint surfaces with clean microfiber towels. Clay barring also helps get rid of other contaminants.
Spray-On Pre-Wax Cleaner
Another way to remove wax is by using a spray-on pre-wax cleaner. These cleaners are gentler but also do a good job of removing car wax. You just spray a small amount of your pre-wax cleaner onto the car paint surface you’re working on and rub the solution into the paint using a microfiber towel in long, even strokes. You then use another clean microfiber towel to buff the paint surface.
All-Purpose Car Cleaner
An all-purpose car cleaner can also help to get rid of old wax. Simply use the all-purpose car cleaner on your car like you’d use regular car shampoo. Apply the soap, use good-quality washcloths to rub it in, and then wash off the soap with plenty of water. One example of this is our Decon Soap.
How Long Does A Car Wax Last?
Carnauba wax, arguably the most popular type of car wax, typically wears off after 3 to four months. Our Mirror Shine™ Super Gloss Hybrid Car Wax Spray & Sealant, on the other hand, lasts up to six months, so you get more value with it. If you want protection that lasts even longer, you should consider our Ceramic Spray™ Spray-On Ceramic Coating, which lasts up to one year.
Spray Wax Vs. Paste Wax
Paste wax has been around much longer then spray wax. However, paste wax can sometimes be pricey and takes a longer amount of time to apply. Applying paste wax can be tedious because of its thickness, so you may spend a lot of time applying it.
Our spray wax, on the other hand, is very well-priced, and thanks to its lighter consistency, you get to use less of it to do more. Its practical packaging also makes it easier to hold, while its sprayer enables precise application. Our spray wax also lasts longer than most types of paste wax. We at Torque Detail have a strong liking for spray wax, and we’re sure you will too when you try our spray wax products.
For more info on this very comprehensive subject be sure to check out our writeup about spray-on ceramic coating as well as our DIY Ceramic Coating guide.
Replaces Everything: Never Use Your Wash, Wax, Polish & Seal Products Again. Saves time. Just Spray on and Buff With a Microfiber Towe! Glass-Like Shine: Patented Polymer-Based Formula Bonds to Paint Coating
Summary
If you just want to make your daily driver a bit shinier, this detailed process may seem a bit much. However, when the process is followed as it ought to be, the reward justifies the sacrifice and commitment that goes into waxing a car properly. It's also important to note that the preparation greatly affects the outcome of the entire waxing process; your diligence with the washing and claying will yield great dividends.
I help run the day to day for America's Number #1 Car Wax Mirror Shine by Torque Detail. As a Certified Detailer by the International Detailing Association, I use that knowledge to help create products that get professional grade results with super simple application techniques.