Vinyl wraps are the best way to change your car’s appearance without spending too much money. You can choose your favorite color and finish and have your dream car all on your own.
The process is easy to do on your own and requires little maintenance compared to a brand-new paint job. The cleaning is also pretty easy. Just use our Decontamination Kit!
If you’re a beginner, the vinyl wrapping might seem daunting. So, we’ve made the process as easy and simple for you as possible. Go through our guide to learn how to wrap your car like a professional.
Before You Start
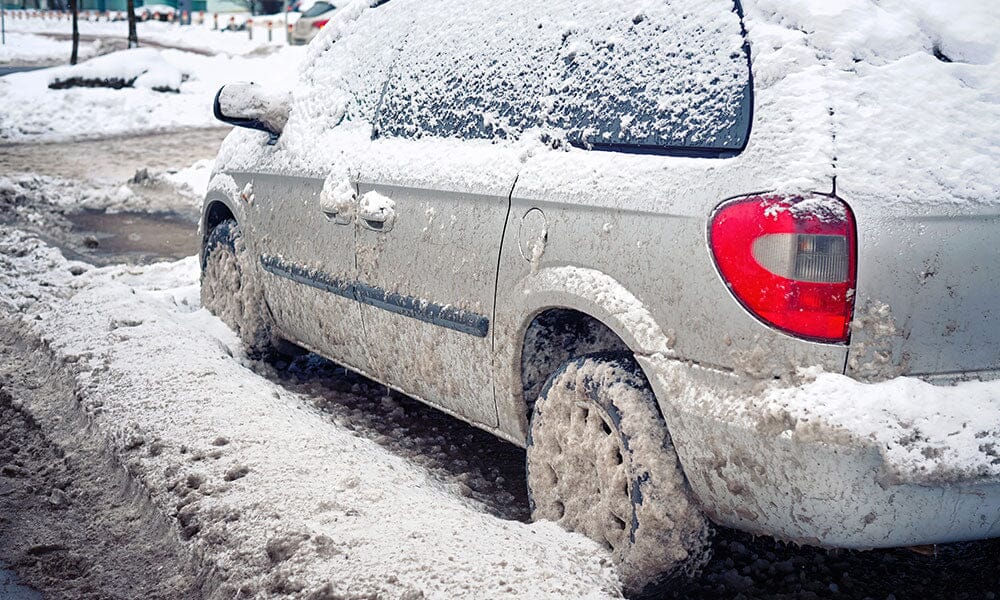
Before wrapping your car, you must ensure it is prepared to be covered with a vinyl wrap. You cannot wrap a dirt-covered car with debris and oils if you want a smooth finish that won’t slip right off. You do not want imperfections or air bubbles in your final result.
Getting into DIY vinyl wrapping requires a few steps to ensure a clean and efficient application. First, make sure your canvas is well-prepared and the surface you’re working on is perfectly clean to wrap. Moreover, your work area should be clean to avoid any sudden mishaps.
It is also important to prepare yourself mentally for the process, as vinyl wrapping can be tedious for a beginner. After making sure you’re all set and so is your car, you’re ready to start.
Things You Will Need
If you’re planning to DIY wrap your car with vinyl, you will require a few tools to prepare the car and finish the process. Simply buying a vinyl wrap won’t suffice. Here’s a simple list of things you will require to begin vinyl wrapping your car.
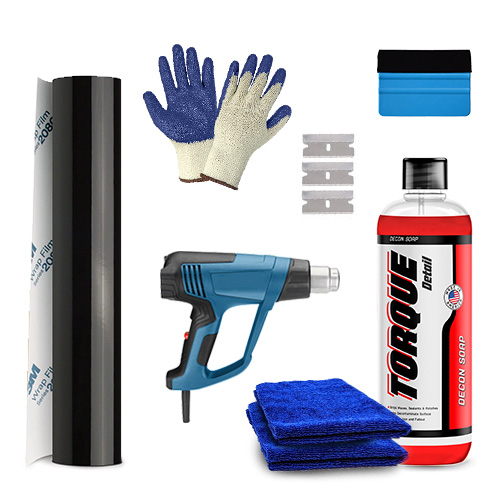
- Decon Soap (able to remove wax and clean deep)
- High quality microfiber towel
- Razor blade
- Heat Gun
- Cotton Gloves
- Vinyl Wrap
- Squeegee
Choosing The Right Vinyl Wrap For Your Car
You can buy two kinds of vinyl wrap: calendared and cast.
Calendered Vinyl is quite thick and sticky. Cast Vinyl, on the other hand, is very flexible and easy to maneuver. It can be wrapped around curves and edges with ease.
Try to find a vinyl that has built-in air release channels. This will avoid air bubbles in the finished product and provide a smooth application. Also, buy about 20 feet worth of extra vinyl than you need. In case you mess up the application, you should have some extra products handy.
Steps To Vinyl Wrap A Car
1. Check Your Surface
Before you do anything, examine the surface you’re about to wrap. Small scratches and imperfections won’t matter. You can use our Reverse to reverse the damage in minutes for small scratches and paint imperfections. However, if there are any massive dents or chips on the surface, the vinyl will highlight the imperfections and make them more visible.
Moreover, if the surface is rusty or oily, you might have air bubbles and small tears. Make sure you check for all these signs before you begin the process.
2. Clean Your Canvas
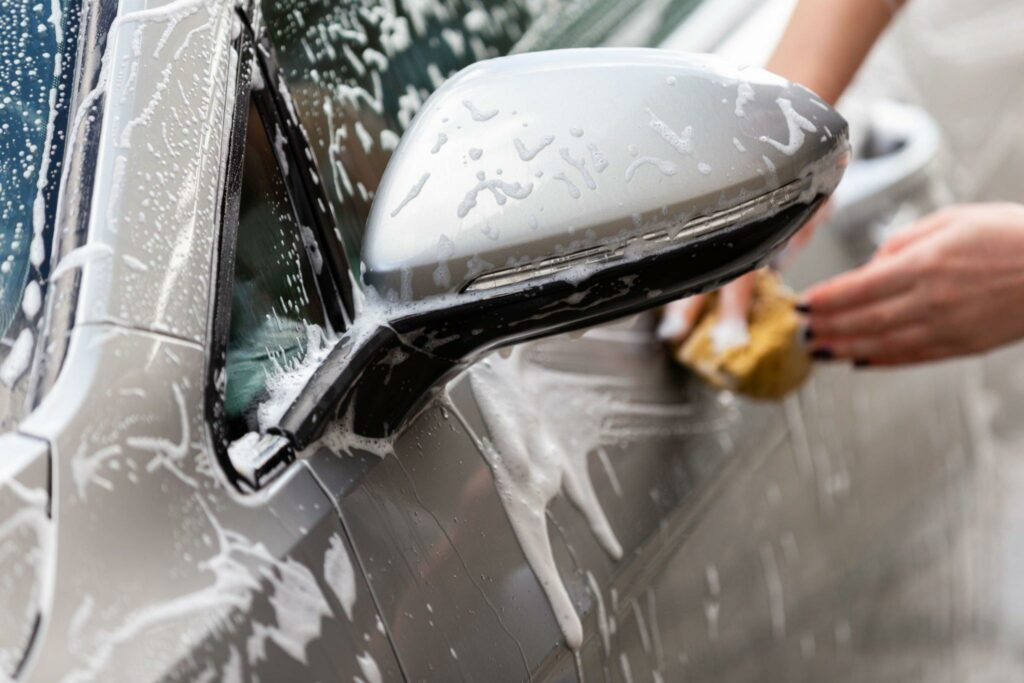
Your car surface needs to be cleaned and prepared well before wrapping it. First, choose a good quality car wash soap to remove any dirt and oil on the surface. Our Decon Wash Soap will thoroughly clean the surface and make sure you can properly remove any impurities and contaminants on the car.
There’s no need to use a specialized wax remover at this point because Decon Wash is a tough, decontamination car.
Wash the surface with water to properly remove the cleaner. You don’t want any hindrances and extra product on the surface.
3. Dry Up
Once you’re done washing, it is time to dry the surface with a lint-free towel. It is important that the towel is lint-free so there is no lint remaining on the surface that could get trapped under the vinyl.
Make sure you clean all the edges and curves properly. Use the towel to scrub every small surface. No dirt or moisture should remain, as that can cause the vinyl wrap to peel off. Check the towel to see if there’s any dirt. Pay extra attention to dirty areas and ensure they are clean.
4. Clean Your Location
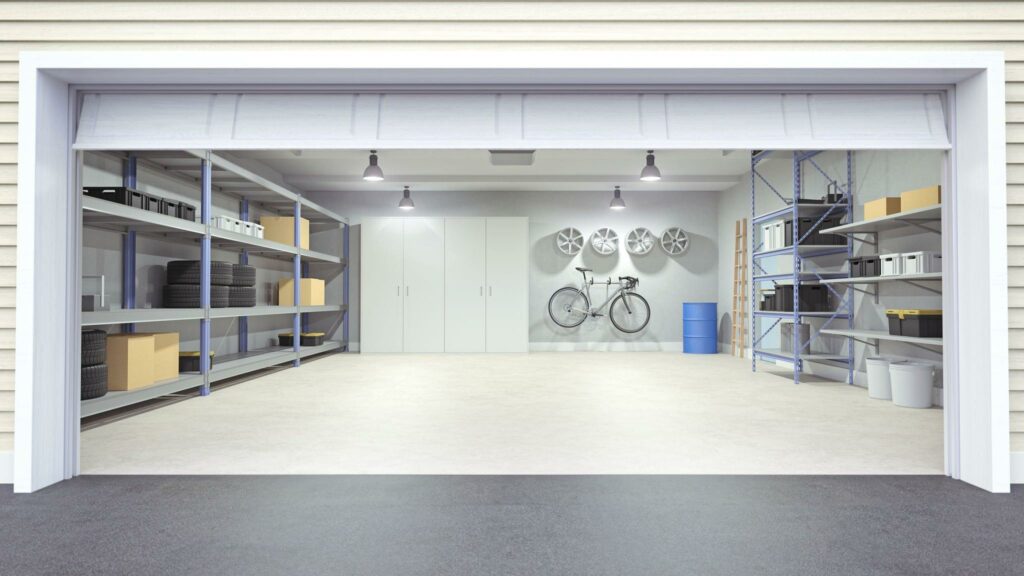
Removing all hindrances and obstacles from your location is important to make the process smoother and faster. Moreover, the area should be free of first and buds, so you don’t get anything unwanted trapped under your vinyl wrap.
Vacuum or mop your workstation. Ensure the room and the car surface are warm, as vinyl works best at a warm temperature and sticks easier. Close the doors to avoid unwanted obstacles and dust.
5. Measure and Plan
To make things easier for yourself, sketch the car panels and write down the measurements. Make sure the measurements are accurate to avoid mishaps. Measure each panel separately doe maximum accuracy.
Slowly unroll the vinyl on a clean surface. Use the blade to cut the vinyl for the panels. Leave a few inches extra. You can always cut more but cutting it too small will make it unusable. Measure twice if it helps make the measurements extra accurate.
6. Lay The Sheets
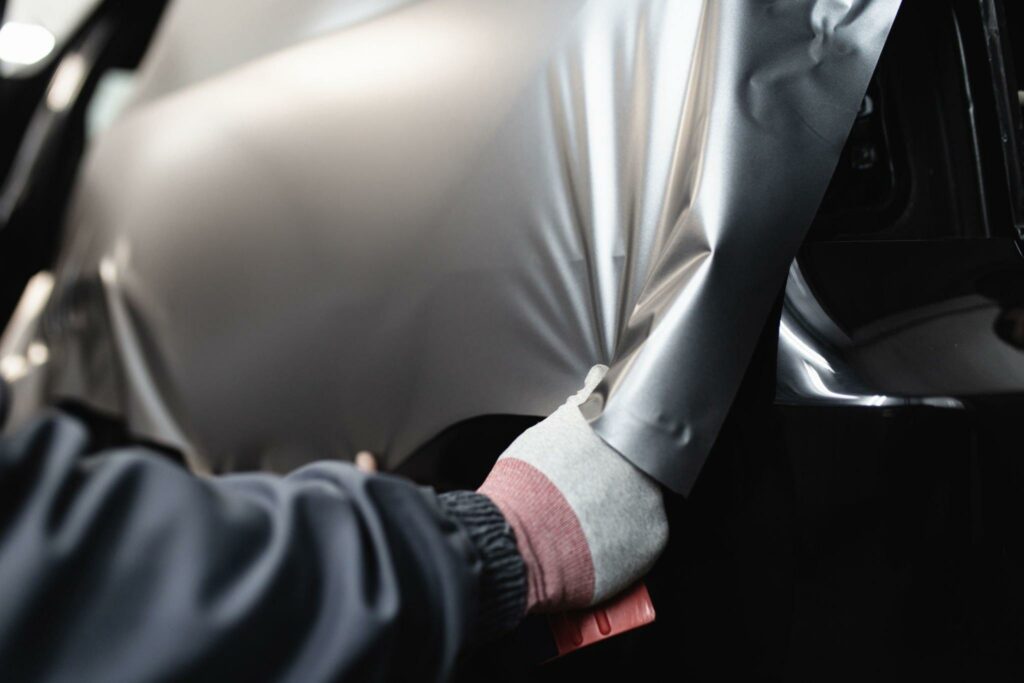
Ask another person to help you with this, as this step requires extra hands. Make sure you and the other person are wearing gloves to avoid getting fingerprints or dirt on the sheet. Hold and stretch the sheet above the panel you want to cover. Start with small, flat panels first if you’re a beginner to make the process easier.
The sheet should be stretched evenly with adequate tension all over. Carefully remove the backing paper. The sheet should be kept tense during this process, or else you’ll get creases and folds. Slowly and carefully place the sheet on the panel. Make sure there is some extra sheet at the ends so you can use it to cover the edges.
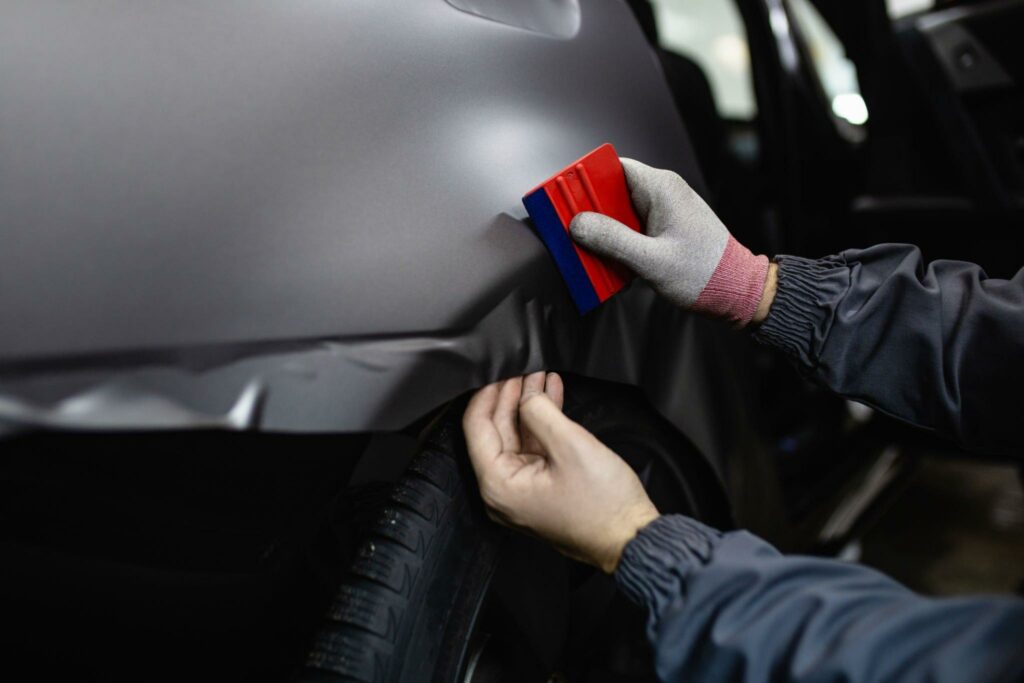
7. Smooth Over
Start pressing the vinyl from the centre of the panel gently. Maintain the tension throughout the edges. Grab your squeegee and stroke the vinyl to smooth it out and eliminate any air underneath. Slowly move the squeegee towards the edges and down the curves. If you reach any small crevices, apply heat to the vinyl via a heat gun and then apply the sheet.
Heating the vinyl will also help make the sheet easier to manoeuvre if you’re going over curves or edges. If you encounter wrinkles, slowly lift the vinyl and apply some heat. Keep heating until the wrinkles and creases are gone, stretch the vinyl, and then reapply it to the panel.
8. Working on the Edges
To wrap up the edges, bring out your heat gun again. Cut the excess sheet, leaving 1-2mm, and use the heat gun on the edges of the sheets at about 100 degrees. Next, grab your squeegee and smooth it over the vinyl to firmly press it onto the edges.
Edges and curves can be a little hard to perfect, but don’t worry. You can lift up the vinyl and reposition it to perfection. Then apply heat to activate the adhesive and press down with the squeegee. If the edges are too small, press down with your fingers while wearing gloves.
9. Finishing Up the Job
When you’ve stuck the edges on and finished wrapping, heat the rest of the wrap with the heat gun. The rest of the adhesive will now be activated and ready to stick. Smooth it over with a squeegee and your hands.
If you’re noticing air bubbles, do not fret. You can press them down with your fingers or pop them with a pin. You’ll achieve a smooth, even vinyl application. Once you’re done with the sticking process, let the wrapping sit for about 12 hours. This will allow it to cool off and set, so it is properly stuck.
Caring For A Vinyl Wrapped Car
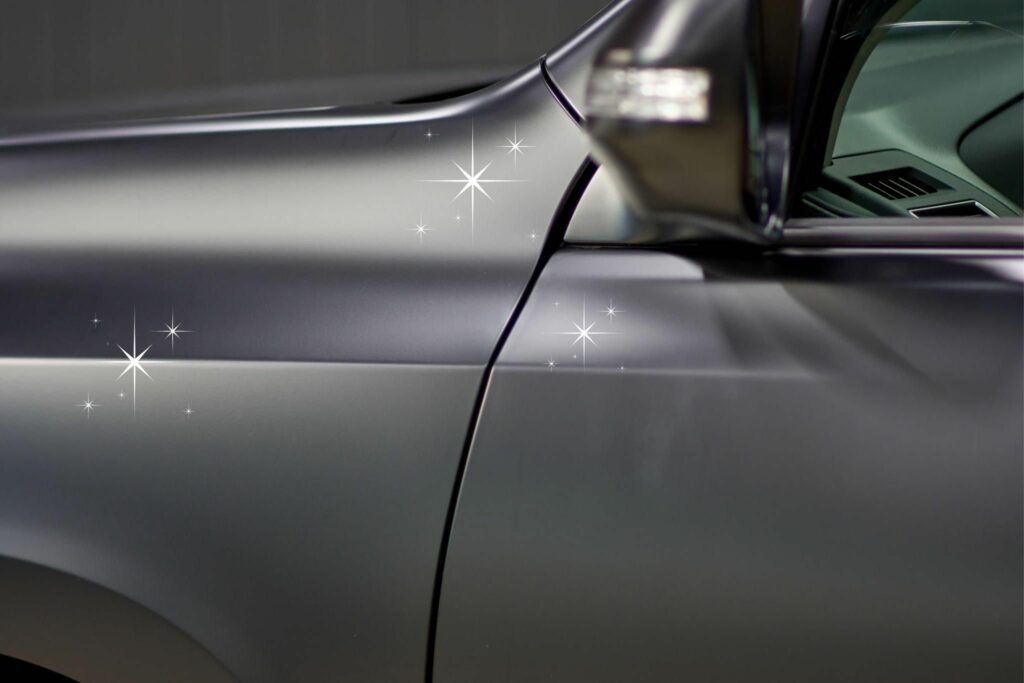
Ensure you wash the car often to keep the vinyl wrap clean and shiny. Dirt buildup can cause the vinyl to look dull and hazy.
Use our Decon Soap with a silicon squeegee to clean and dry. Be gentle while washing, and avoid using a brush as it may tear the wrap. Dry with a soft microfiber towel after washing.
Avoid using wax products, as they can ruin the shine of the vinyl wrap and cause unwanted buildup. Use shine sprays instead, such as Torque Detail Graphene Burst.
Summary
Vinyl wrapping a car by yourself can seem daunting at first, but it can be pretty easy if you have the right tools. Follow our guide properly, and you’ll transform your car as you desire.
You must be gentle and patient with the wrapping process. Being hasty will do no good. You could end up with nasty air bubbles and wrinkles. We’ve made the process simple and easy to understand. So you can achieve your dream car without having to go to professionals.

I help run the day to day for America’s Number #1 Car Wax Mirror Shine by Torque Detail. As a Certified Detailer by the International Detailing Association, I use that knowledge to help create products that get professional grade results with super simple application techniques.